
In the transformative world of gardening, every gardener, novice or veteran, treasures the beauty and satisfaction that comes with harvesting from their own garden. However, one of the most overlooked aspects of successful home gardening is the preservation of seeds. By cultivating a knowledge base around selecting and harvesting seeds, you can ensure a more self-sufficient, abundant, and rewarding gardening season.
Choosing the best seeds reflects directly on the health and quality of future plants. Honing this skill includes understanding the optimal conditions and timelines for seed collection from various types of flora. Similarly, it is crucial to engage with the appropriate techniques for drying and storing these tiny capsules of life, so they remain capable of germination when the next planting season rolls around.
Lastly, the process of testing the viability of stored seeds is equally important to guarantee a fruitful outcome in your garden. While all this may seem intricate, a systematic approach can make the process quite manageable, enjoyable, and definitely fulfilling.
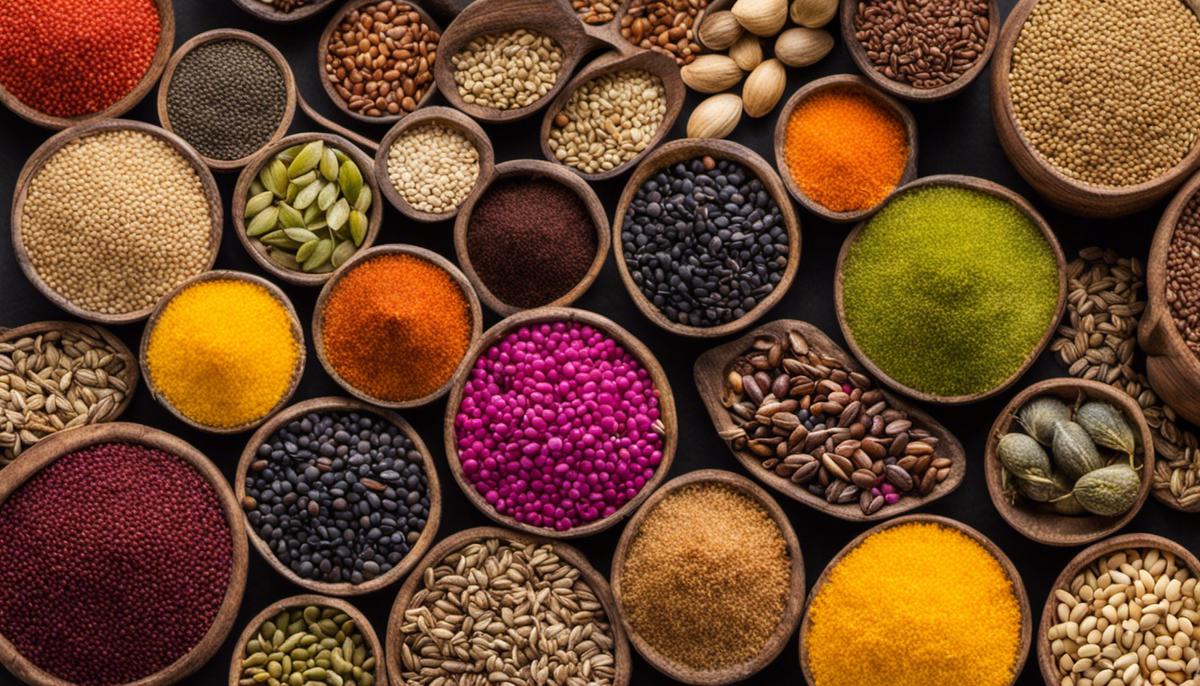
Selecting and Harvesting Seeds
Mastering the Art of Seed Selection and Preservation: A Comprehensive Guide
As the growing seasons change and the air turns crisp, it signals the time for an essential ritual for any true gardening enthusiast — seed harvesting and preservation. A labor of love that requires patience, skill, and intimate knowledge about your plants. This article walks you through the best methods of selecting and harvesting seeds for preservation, ensuring an abundance of beautiful and vibrant plants for generations to come.
Let’s start with the quintessential question: which seeds are the best ones to save? When it comes to deciding which plants to select for seed-saving, some gardeners might be tempted to pick the most aesthetically pleasing specimens. However, it’s actually more essential to choose plants that are healthy, robust, and representative of the desired characteristics. Are they resistant to disease and pests? Do they thrive in the local climate? If the answer to these questions is yes, that (quite literally) is the seed for success!
Once the right plants are chosen, it becomes time to select the apt seeds. It’s a basic rule of thumb to gather only mature seeds. How to tell they are ready to harvest? Color can be a key indicator with most seeds turning brown or black when mature. Other tell-tale signs include hardness and dryness to the touch. But beware, some plants (especially fruits) need to over-ripening on the vine in order for their seeds to mature.
Now onto the key action – the harvesting! A crucial point to remember here is timing. A day too early or late could make a huge difference. Pay attention to each plant’s specific indicators that it’s time to harvest. Some plants, like beans and peas, are ready when pods are completely dry and start splitting open. For other species like cucumbers, melons, or tomatoes, allow the fruit to over-ripen before harvesting seeds.
After harvesting, the seeds need to be cleaned. This typically involves removing any pulp or other plant material and thoroughly washing the seeds. A sieve and some running water could easily do the trick. Just don’t skip this cleaning stage as any leftover residue could lead to mold and spoil your seeds.
Seed drying is the next crucial step. Moisture can encourage mold growth and seed degeneration. For small seeds, lay them out on a ceramic or glass dish, as they may stick to paper. For larger seeds, a paper plate or towel works perfectly fine. Avoid placing seeds in direct sunlight for drying. Instead, opt for a room with good air circulation and ambient temperature.
Last but not least, the seeds need to be stored in an airtight container in a cool, dark place until it’s time to plant them. Adding silica gel packets or powdered milk wrapped in cheesecloth can be a helpful way to keep moisture at bay within the containers. Properly stored seeds can last for several years, ready to produce a bounty of flourishing plants when the time is right.
And there you have it – expert-led advice for selecting, harvesting, and preserving seeds! Now, with patience and keen observation, any gardening enthusiast can capably and confidently carry the future of their garden in the palm of their hand. Enjoy the marvels of seed preservation, and watch your horticultural skills bloom in tandem with your captivating plants season after season.
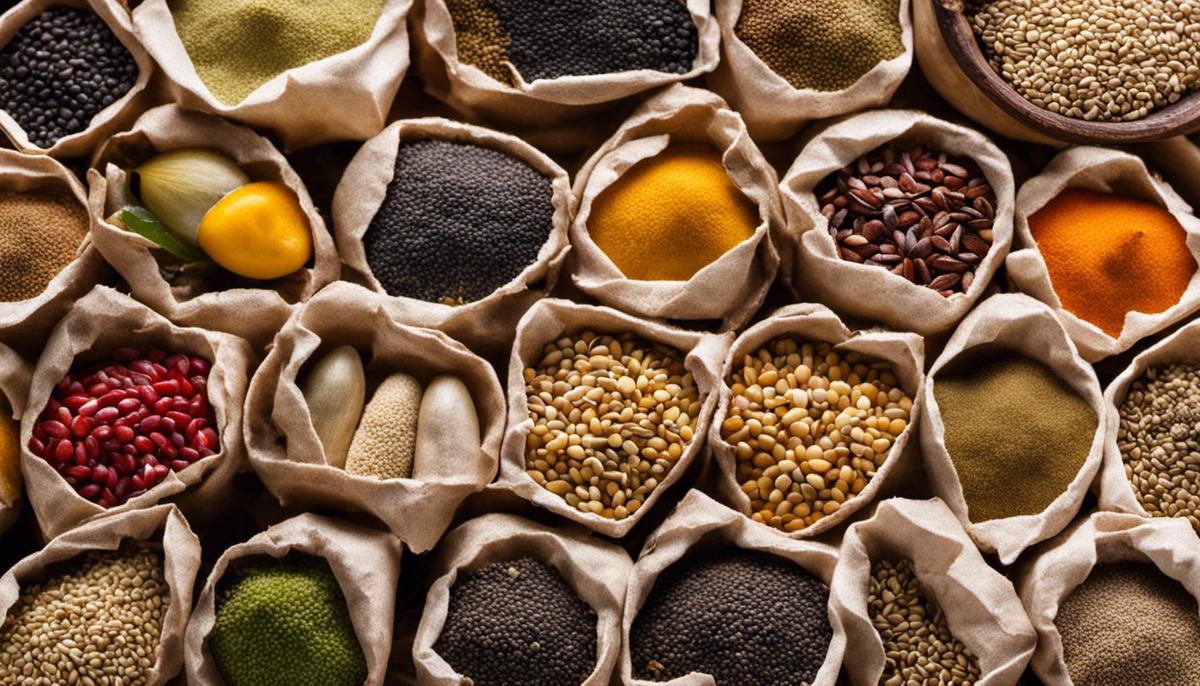
Drying and Storing Seeds
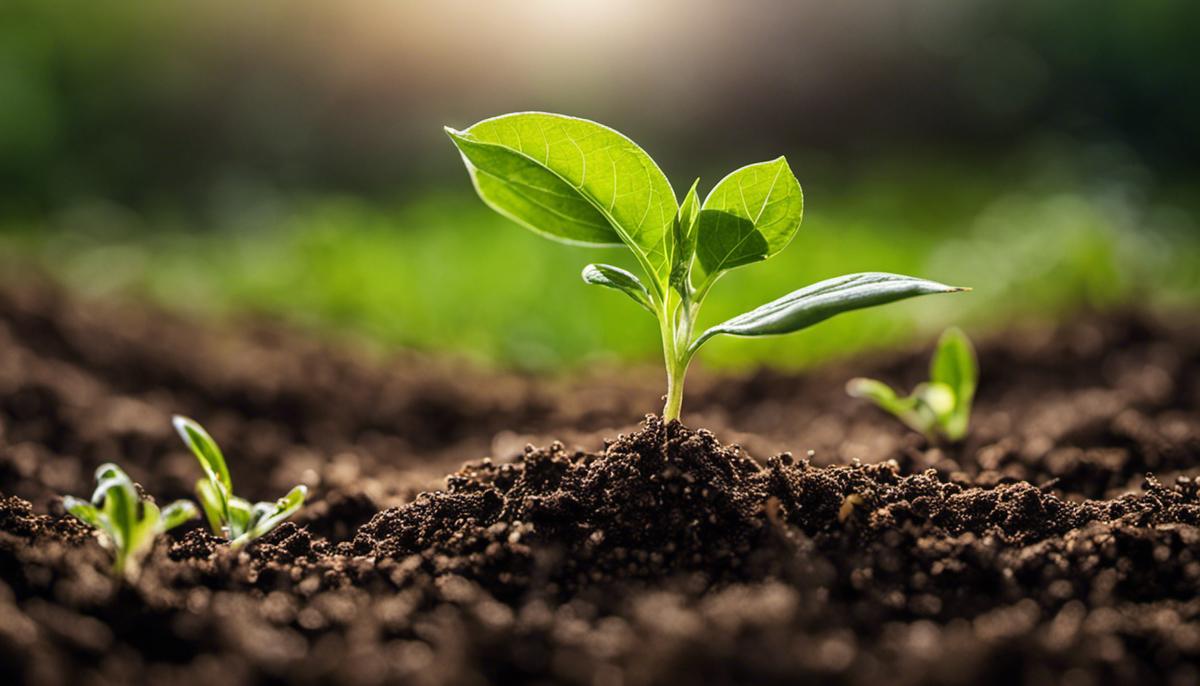
The Magic of Germination
Embarking on the journey of seed preservation introduces one to the magical world of germination. To witness the transformation of a small, apparently lifeless seed into a thriving plant, is nothing short of astonishing. This can only be achieved, however, if seeds are primed, tested and germinated properly, keeping in mind various variables like temperature, humidity, and sunlight.
Seed priming, for the uninitiated, is the process of soaking seeds in water for a specified period, enabling them to imbibe the necessary moisture required for germination. This pre-sowing strategy has been recommended for centuries and can be thought of as a quick start mode for seeds. It speeds up the germination process, gives seedlings a head start, and makes them more resistant to unfavorable conditions such as drought.
How do you know your seeds are good to go? Seed testing! This step is crucial, learning how to test seed’s viability ensures that the efforts we are investing won’t go waste. It is also the simplest part of the process. Simply get a paper towel, wet it, place some seeds on it, and fold it up, keeping it in a plastic bag in a warm place. Within a few days, most of the seeds should have sprouted if they are viable.
The best temperature for seed germination generally lies between 60-80 degrees Fahrenheit. Variations may occur depending upon the plant species. It is crucial to remember, fluctuating temperature can potentially damage the seed, impeding germination.
Light also plays a significant role. Some seeds require light for germination, others need darkness, and yet others are non-responders. It’s wise to understand the specific light requirements of chosen seeds to give them their best shot at germination.
After germination, seedlings require meticulous care. Keep them in a sunny spot but avoid direct sunlight initially. Keep the soil consistently moist but not water-logged. The thin and tender roots of the seedlings get damaged easily, so use a gentle touch while watering and transplanting them.
Last, but never least, let’s talk about the cold stratification process. Some seeds used to cold climates won’t germinate until they have a cold treatment first. This simulates a winter period and triggers their inner biological clocks, preparing them for a new growth period.
As intriguing as it is rewarding, seed preservation and germination unfold the wonders of mother nature right before your eyes. Do remember that the process might involve a bit of trial and error, but, with patience and some understanding of nature’s mechanics, the result can be a thriving garden full of your favorite plants, year after year. Happy gardening and seed-saving!
Testing Seed Viability
Check Your Seeds’ Viability: Reliable Techniques for Hobbyists
Taking pride in one’s seed collection is a reflection of the dedication and hard work expended in the entire process, from selection to preservation. However, before embarking on the fulfilling journey of cultivation, it’s paramount to make sure the preserved seeds are still good to plant. The answers are available through some scientifically-proven practices, including seed priming, testing, and understanding the ideal conditions for germination.
This process involves soaking the seeds in water, allowing them to imbibe water, and initiate the metabolic processes needed for germination. After a certain period, ranging from a few hours to days, the seeds are dried back to their original moisture content. Priming enables the seeds to germinate quickly and uniformly once they are sown, signifying their good health. Keep in mind though, that priming is not conducive for all seed varieties. Thus, researching about the specific seed type prior to priming is a prudent approach.
From a practical perspective, hobbyists can rely on seed testing to ascertain viability. The simplest and most common way to do this is through the germination test. Place about 10 seeds in a row on a damp paper towel, roll it up, and seal it in a plastic bag. Keep this setup in a warm place and check on them regularly. After the incubation period (which varies depending on the seed type), the number of sprouted seeds will give an estimate of the batch’s overall germination rate.
Dive further into the intricacies of germination; understanding the ideal conditions for this process can provide further insight on the seeds’ viability. Most seeds germinate best at temperatures between 60-70 degrees Fahrenheit, evidenced by the emergence of seedlings. Too cold or too hot, and germination may be drastically affected. Thus, maintaining this temperature bracket during the germination test will ensure accurate results.
Additionally, it is vital to recognize that some seeds require light to germinate, while others need darkness. This aspect of understanding your seeds will guide the setup of your germination tests.
Once the germination process begins, tending to the seedlings with adequate water, light, and nutrients will encourage healthy plant development. Keep them in a stable environment, shielded from harsh conditions, pests, or diseases.
Lastly, some seeds may need a ‘push’ to break dormancy in the form of cold stratification. This process mimics natural winter conditions and helps the seed ‘recognize’ the arrival of favorable growth conditions, thereby triggering germination. If the preserved seeds are of varieties that usually undergo winter weather, cold stratification could be crucial in ensuring their vigor.
Armed with these techniques and nuances, any hobbyist can ensure their preserved seeds still have the zest to spring forth into lush, healthy plants. Successful gardening is, after all, planting the right seed in the right place at the right time.
The journey of becoming a self-sustaining gardener is one that includes learning, experiencing, adapting, and growing, both for the plants and for yourself. Along the way, understanding seed preservation will prove to be a vital part of this journey. When you choose robust seeds, meticulously dry and store them, and regularly test for their viability, you are not only creating a garden but a legacy that is self-replenishing.
These seemingly small skills accumulate to significant results – from healthier, more robust crops to the taste of self-grown fruits and vegetables. It’s about creating a circle of life right in your backyard, turning gardening into not just a hobby but a way of life. Embrace these techniques, and you will witness a garden that thrives year after year, creating harmony between mankind and nature – truly, the ultimate reward for every passionate gardener.